Whether you’re paving a large area or just a smaller doing a smaller DIY project, it’s important to get a few basic things right.

1. Prepare Ground
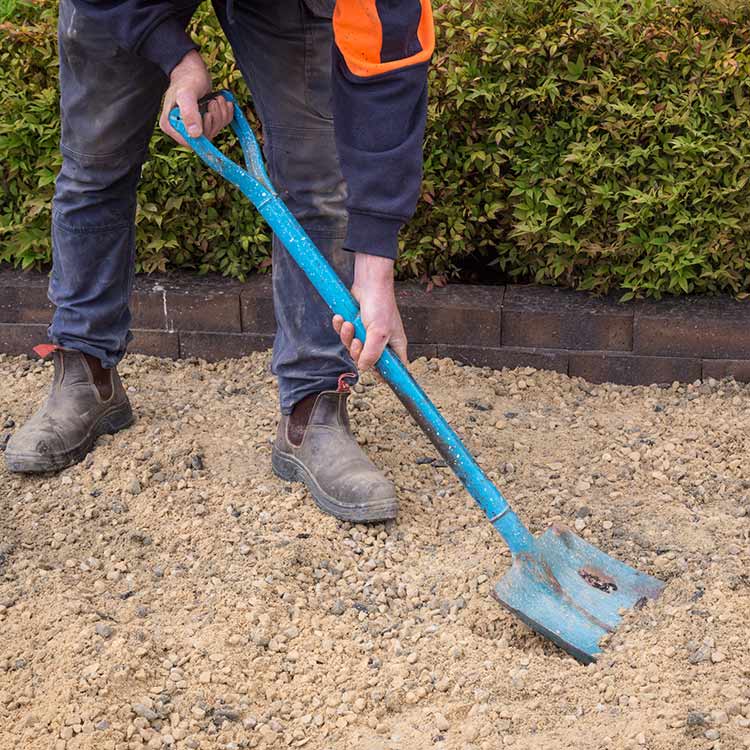
Before you begin laying pavers, prepare the ground. Ensure you have a root and rubble free compatible sand sub-base of at least 50mm thick.
The sub-base should be roughly levelled and damped down before tamping down firmly with a hand or mechanical compactor.
Hand compaction is usually enough for most domestic applications when laying pavers.
Mechanical compaction should be used when laying pavers for vehicle traffic areas.

2. Spread Sand
Now you must establish your final level.
To do this simply lay two runner boards (timber or metal) on level sand and use a spirit level and the notched screed board to ensure they are level.
Loosely spread the sand over the area bound by the runner boards, then screed the sand using the notched screed board on the running boards removing high spots and filling low spots.

3. Laying Pavers
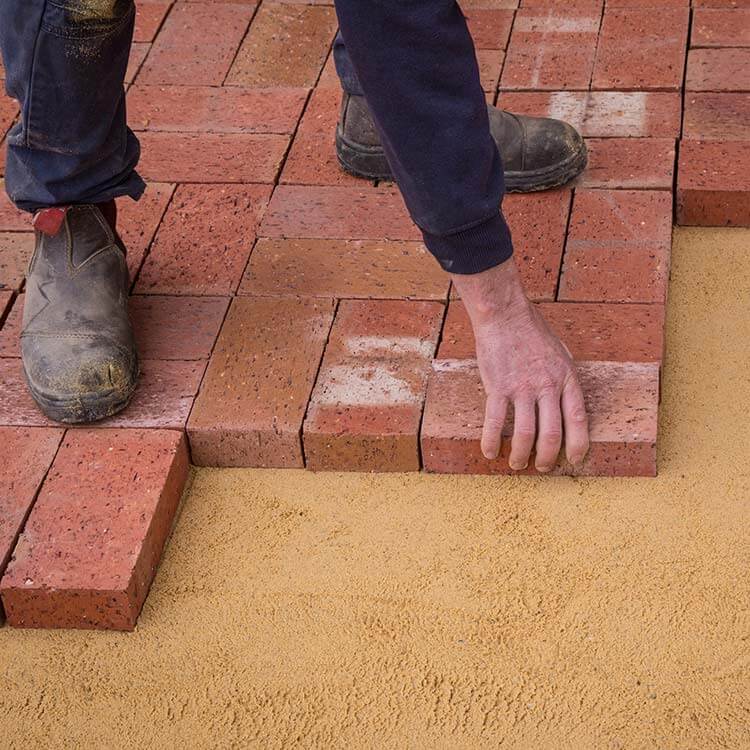
Commence at a straight fixed edge if possible. Start laying pavers in the desired pattern.
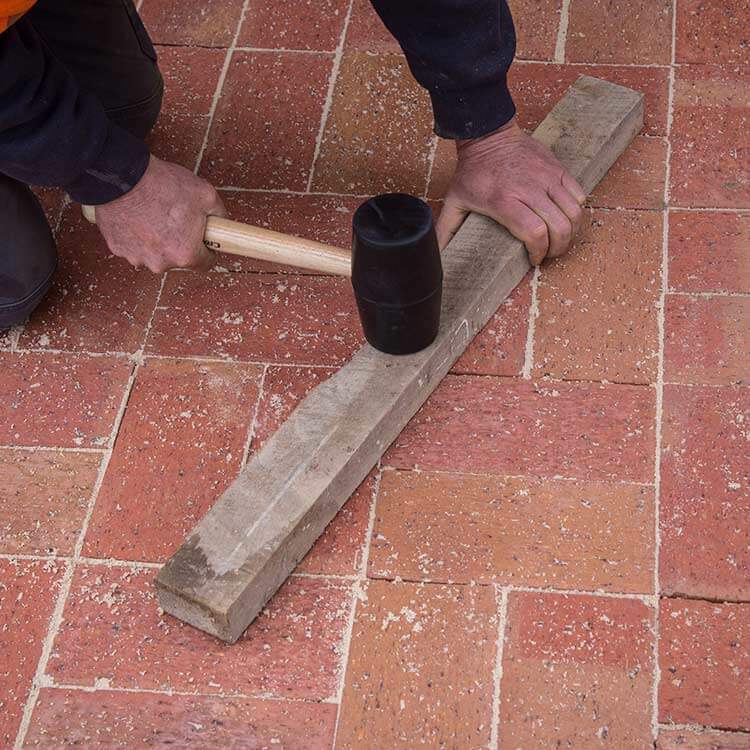
Place each paver onto the sand and tap lightly into place with a rubber mallet or hand tamper.
There are a variety of different paving patterns you may like to explore but keep in mind some are easier than others.
Note 1: Ensure pavers have 2-5mm gap between them for “sand filling.”
Pavers need space to expand and contract as temperature changes – without it, they might get chipped.
Note 2: Always walk on laid pavers, NOT on “screeded” sand.

4. Compaction and Joint Filling
When the laying of pavers and closure units is complete, pavers should be compacted and brought to level by not less than three passes of a high frequency low amplitude plate compactor.
The compactor should have sufficient area to simultaneously cover 12 units, and its metal base should be covered to prevent it coming into direct contact with the surface of pavers.
Use a 12mm plywood sheet or a thick rubber backed carpet square attached to the base of the compactor to provide a cushioning effect.
A thin layer of joint filling sand spread evenly over the pavers prior to compaction will aid the movement of the compactor and further minimise surface damage.
When the section is finished, brush clean, white washed dry sand into all joints until filled. Sweep off any excess and continue to lay new sections as previously described in Section 1 to 3.
When all paving is completed, continue to sweep sand into joints until all joints are filled. This ensures the paving will achieve lock up.

5. Edge Restraints
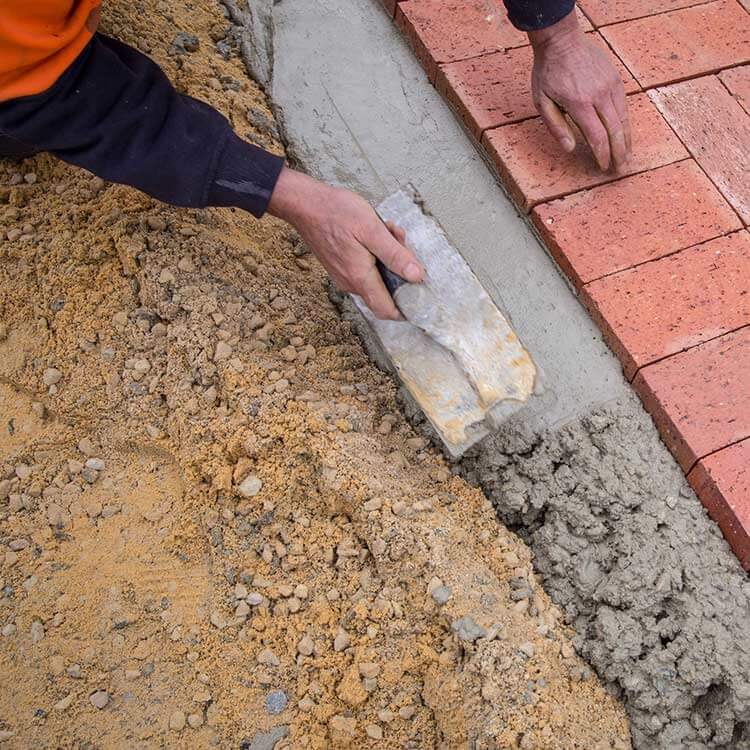
This final stage is required on all edges that do not butt-up to a solid wall or kerb thus preventing pavers from spreading under loads.
The sub-grade and sub-base must be compacted beneath the edge restraint and extend at least 100mm beyond the outer edge of the restraint.
The edge restraint barrier can be installed using pre-mixed concrete (20:14) i.e. 20mpa, 14mm aggregate size or a site-mixed equivalent.
This barrier should extend under the brick approximately 100mm to a depth of 100mm and should extend beyond the header course approximately 100mm.
The finished barrier must finish approximately 20mm up from the bottom of the header course, thus creating a ‘lip’. This forms a restraint, stopping paving from spreading